
Set up a brand kit
Your logo, voice and sourcing rules, applied to every video on a channel.
A 2-minute video version of this guide will play here. Everything it shows is written out below.
A brand kit holds the look, voice and sourcing rules for one channel. You set it up once, and every video on that channel uses it. This guide creates a kit for The Food Archive channel, adds a logo, picks a default voice, sets the sourcing rules, and then re-renders the video from tutorial 02 with the logo on screen.
Setting | What it does |
|---|---|
Logo bug | A PNG overlaid in one corner of every scene, at the opacity and size you choose. |
LUT (.cube) | A color grade applied to all footage. LUT strength sets how strong it is. |
Intro / outro stinger | Short clips added before and after every video. |
Default voice | The narrator for new videos on this channel. |
Motion-graphic theme | The default style for charts, counters and titles. |
Motion-graphic blocklist | Kinds of motion graphic the automatic picker should never use. |
Compliance & sourcing | Where footage may come from, plus a list of sites to never use. |
1. Create a brand kit
Click Brand kits in the sidebar.
Click New brand kit and give it a name.
Pick the channel it belongs to. Every video on that channel will use it. Choose No channel (reusable) for a kit you want to pick by hand on individual videos.
Click Create.
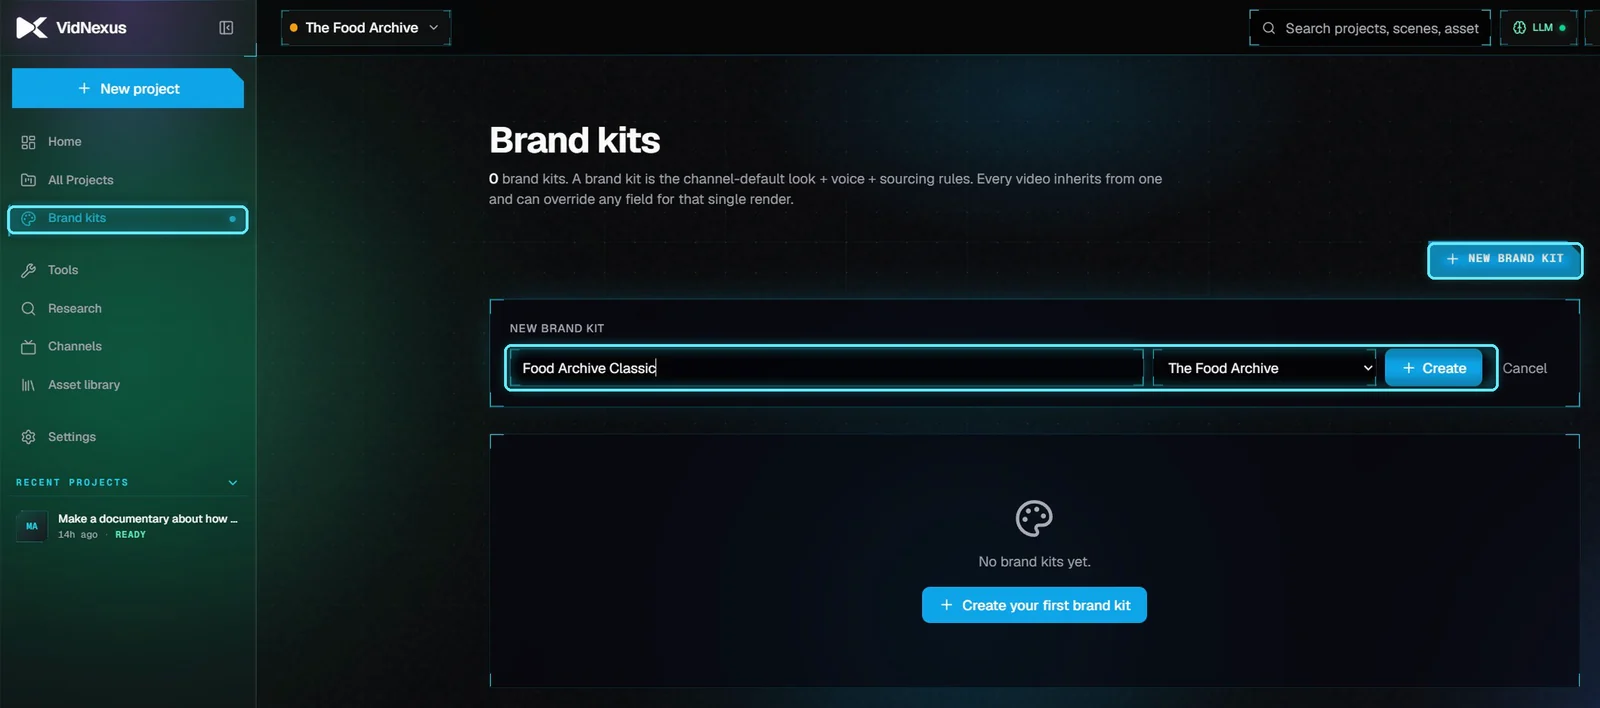
A new kit called Food Archive Classic, for The Food Archive channel.
The kit opens below the list. There's no Save button: every change is saved as you make it.
2. Add your logo
Under Logo bug, click Upload and choose a PNG with a transparent background. Then:
Logo placement: pick a corner. Bottom-right stays clear of most captions.
Logo opacity: about 80% is easy to see without getting in the way.
Logo size: a percentage of the video's width. 12 to 15% works well for a wordmark.
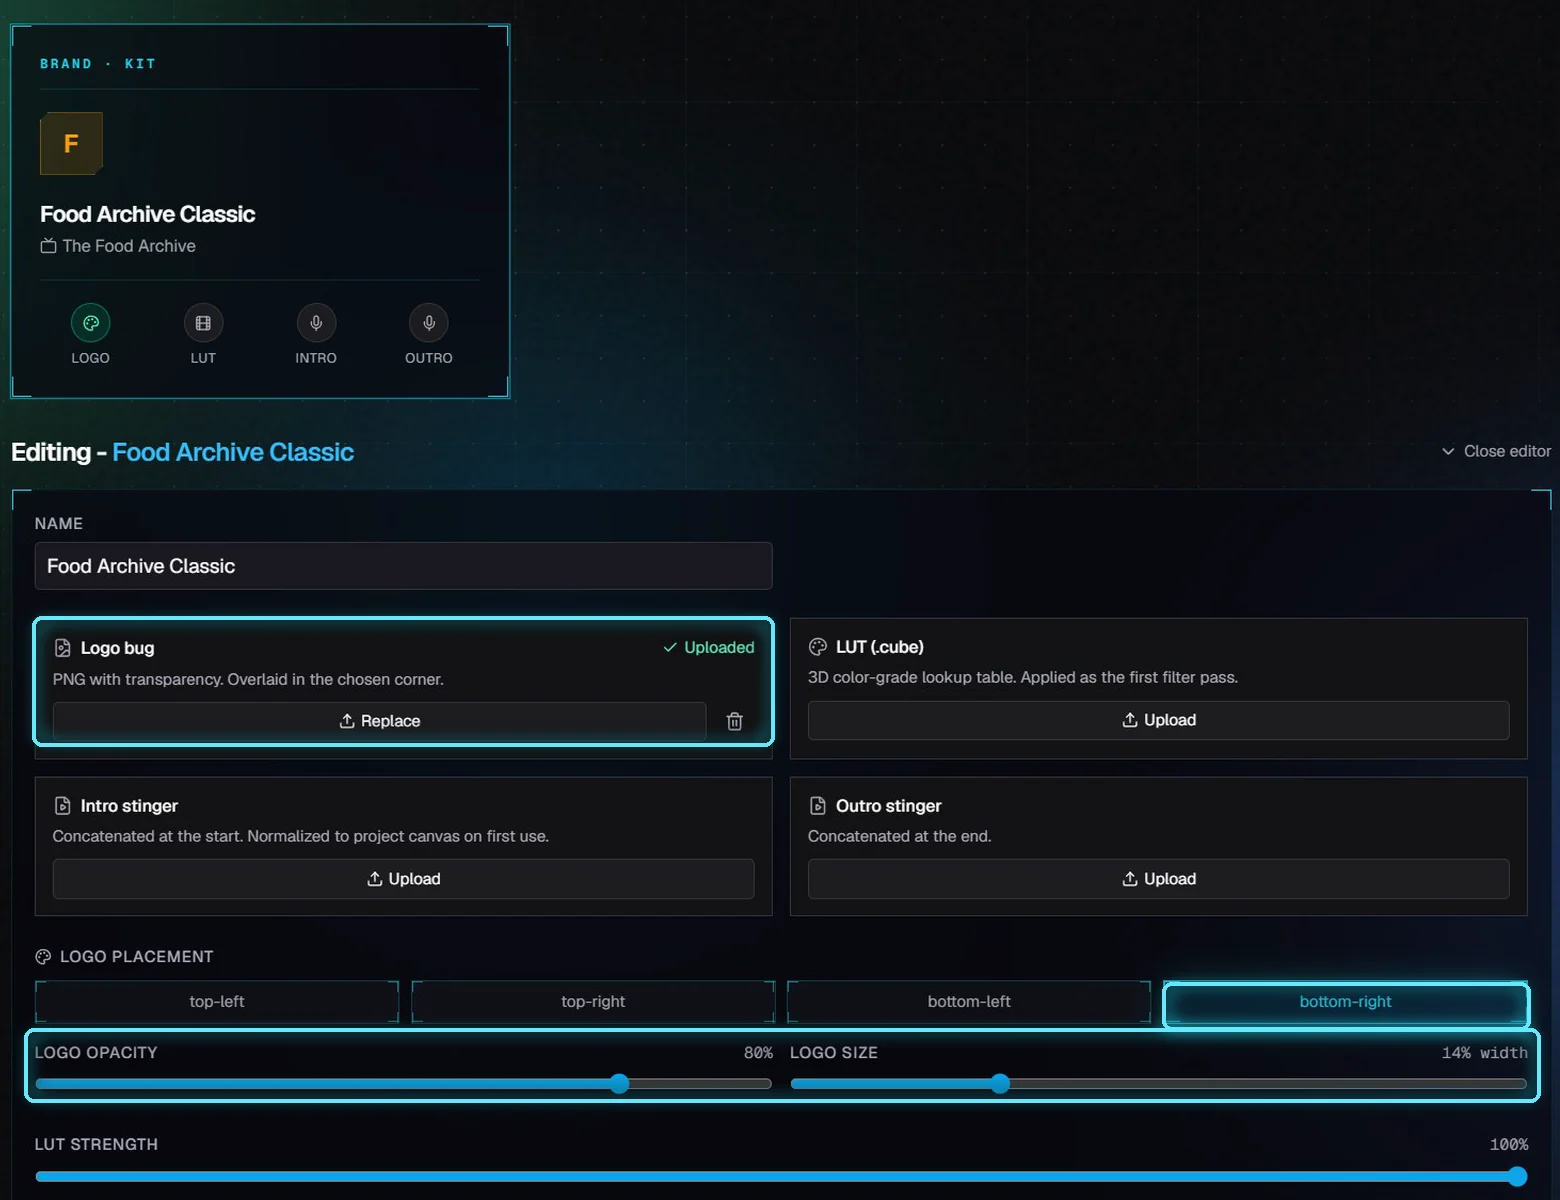
The uploaded logo, placed bottom-right at 80% opacity and 14% width.
The same section has a LUT upload for a color grade, and Intro and Outro stinger uploads for short clips that play before and after every video. All of them are optional.
3. Default voice and theme
Under Default voice, pick the narrator for this channel. New videos on the channel start with this voice. You can still choose a different voice for a single video in its settings.
Motion-graphic theme sets the default style for charts, counters and titles.
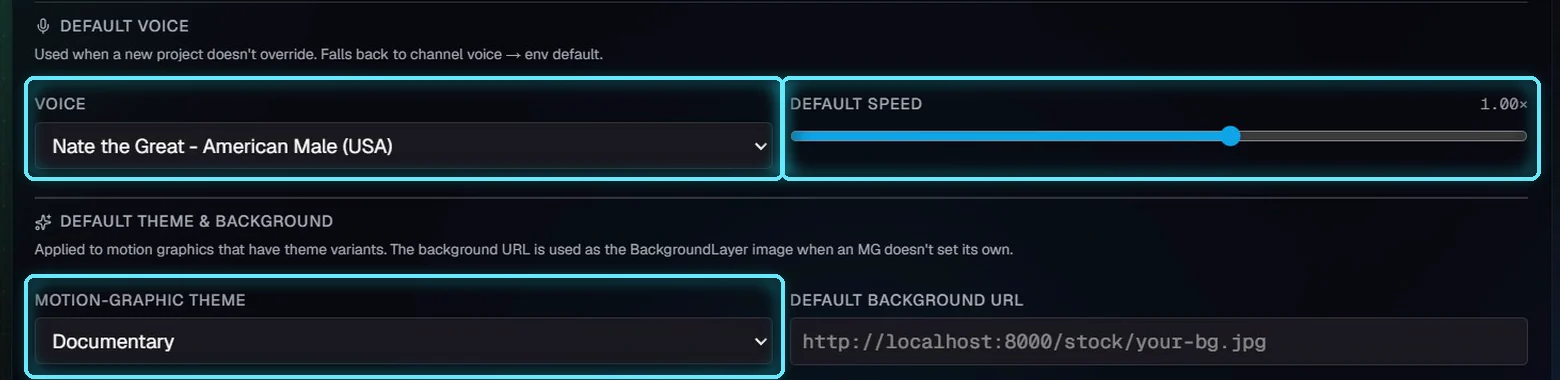
Default voice and motion-graphic theme.
4. Blocklist and sourcing
Motion-graphic blocklist
VidNexus adds motion graphics automatically when a scene mentions a number, a date or a place. To keep a kind out of those automatic picks, click it in the blocklist. Blocked kinds turn red. Click again to allow it.
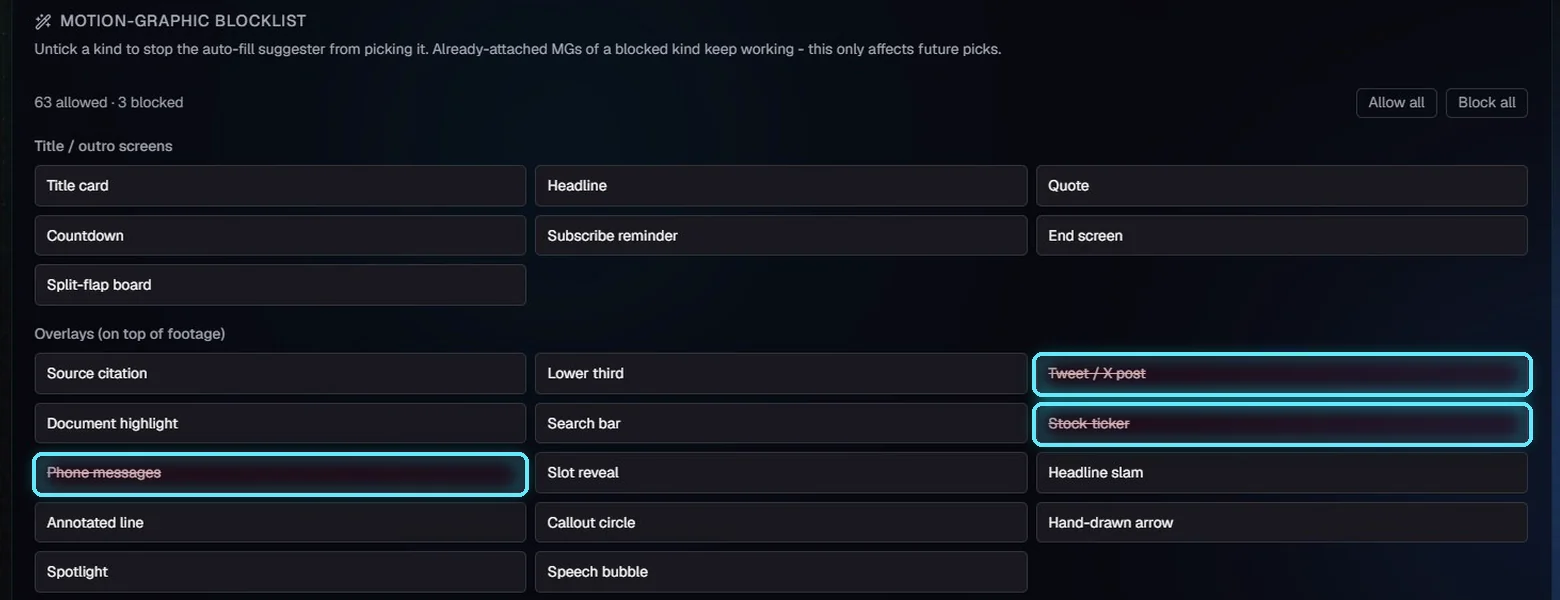
Tweet / X post, Stock ticker and Phone messages blocked for this channel.
Blocking only affects future picks. Motion graphics already on a video stay where they are, and you can still add a blocked kind by hand in the editor.
Compliance and sourcing
Choose where footage can come from:
Commercial stock: Pexels and Pixabay. Royalty-free.
CC & Public domain: the Internet Archive, Wikimedia Commons, NASA and DVIDS. Public domain, CC0 and CC BY only; the credits go in the video description.
General web: any other source. More variety, but you take on the licensing risk.
Turn off General web to stick to licensed stock and public-domain sources. Add sites you never want footage from to the URL blacklist, one per line.
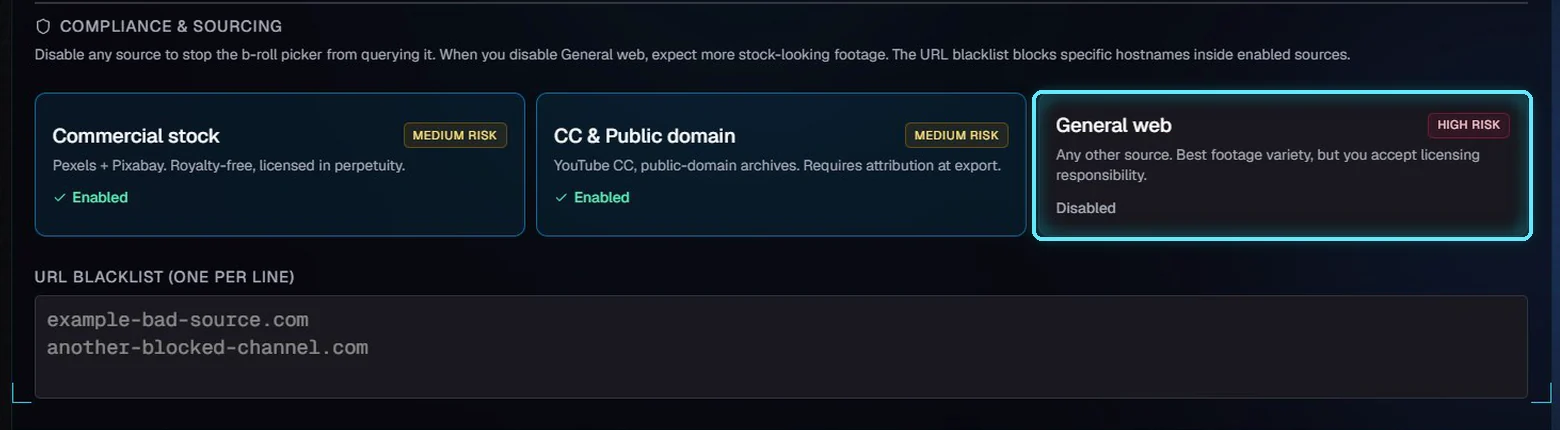
General web turned off for this channel.
5. Apply it to a video
New videos pick up the kit when they're built. Open a project on the channel and go to Video settings to see it: Selected brand kit shows the kit, and the voice, theme, blocklist and sourcing come from it.
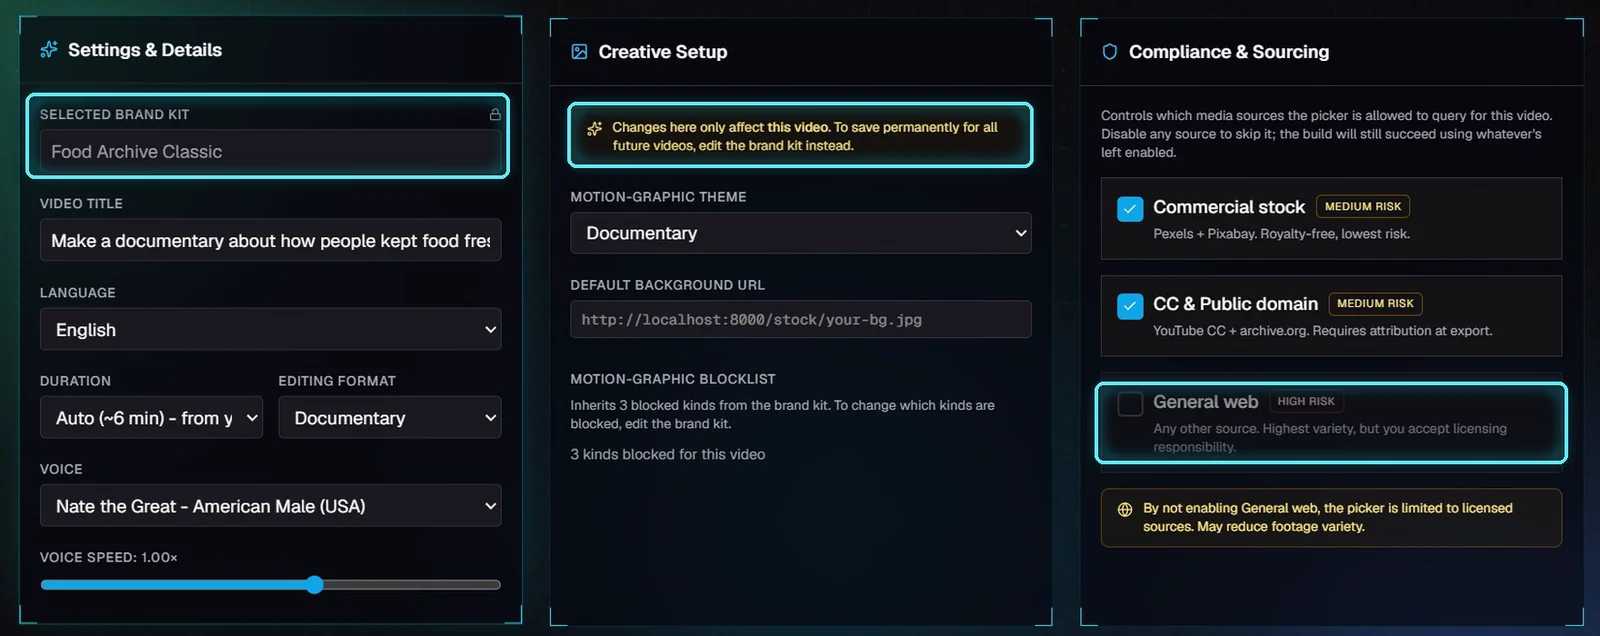
Video settings for a project on The Food Archive, using the brand kit.
Anything you change on this screen only affects this one video. The brand kit stays the same.
Videos built before the kit
A video that was built earlier doesn't change on its own. Open it in the editor, click the Settings tab to check Brand kit, then click Render.
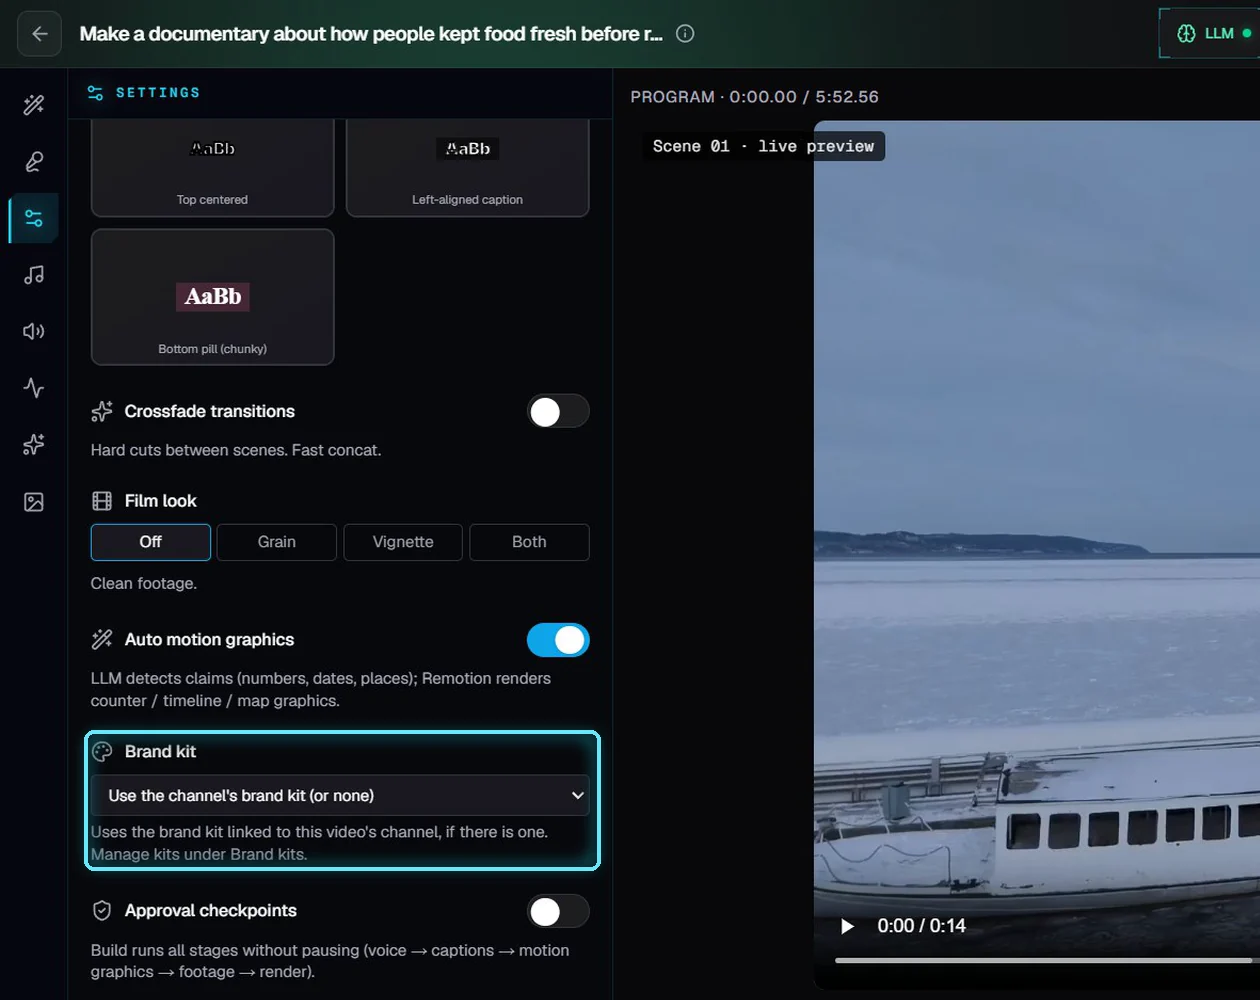
The Brand kit setting in the editor. Leave it on the channel's kit, or pick another one for this video.
Render rebuilds the video from what you already have, so it doesn't use any API credit. It took about a minute and a half on our test machine. When it's done, the logo is in the corner of every scene.
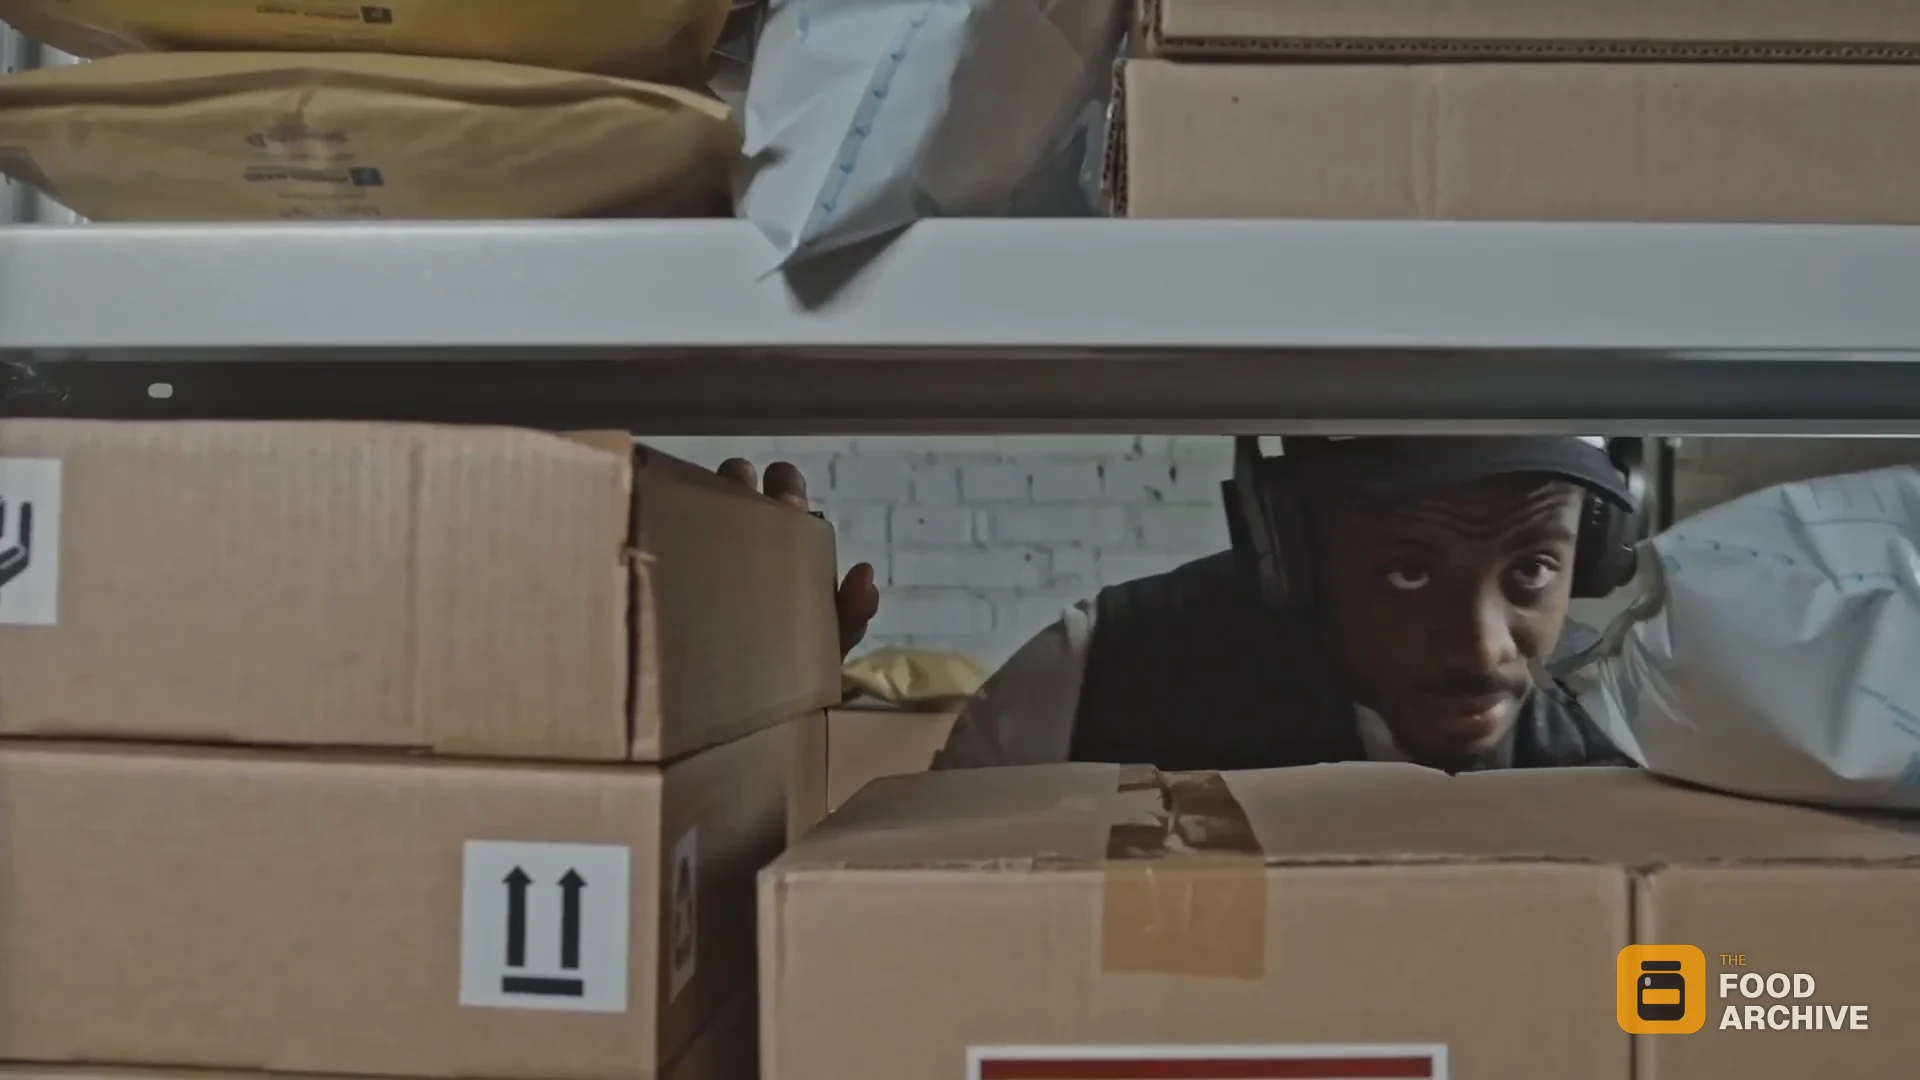
The re-rendered video with the logo bottom-right.
The next tutorial, Connect your YouTube account, sets up publishing straight from VidNexus.
Troubleshooting
The logo isn't in my video. Videos built before the kit need a Render from the editor. Also check the editor's Settings tab: Brand kit should show the channel's kit or the kit you want.
The logo is too faint or too big. Change opacity or size in the kit, then render again. 0% opacity hides the logo completely.
Footage looks more like stock than before. That's expected with General web turned off. Turn it back on in the kit if you'd rather have more variety.
My channel has two kits. New videos use the newest kit for the channel. To use a different one, pick it under Brand kit in the editor's Settings tab.