
Captions, transitions and film look
Change how the whole video looks from the Settings tab.
A 2-minute video version of this guide will play here. Everything it shows is written out below.
Most edits in VidNexus change one scene. The Settings tab changes the whole video at once: the captions and their style, the cuts between scenes, a film look over the footage, and whether motion graphics and your brand kit are added. It also has approval checkpoints, which pause a build after each step so you can check it. This guide changes all of them on a copy of the food-preservation video from the first-video tutorial, then renders it.
1. Open the Settings tab
Open the project in the editor and click the Settings icon (the sliders) in the strip on the left. Everything on this tab applies to the whole video, and it saves as soon as you change it.
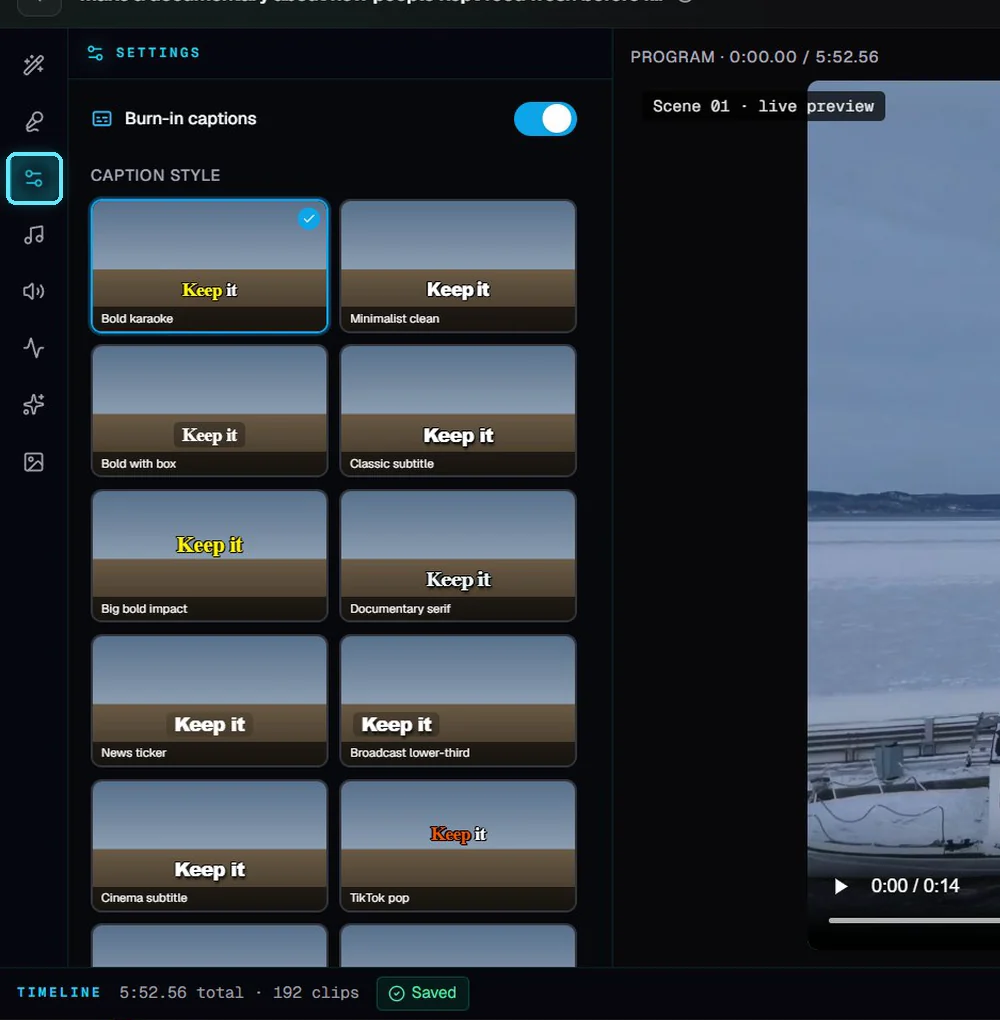
The Settings tab, with the caption styles at the top.
2. Captions on or off, and styles
Burn-in captions puts the narration on screen as text. Switch it off and the video renders clean, with no words on it.
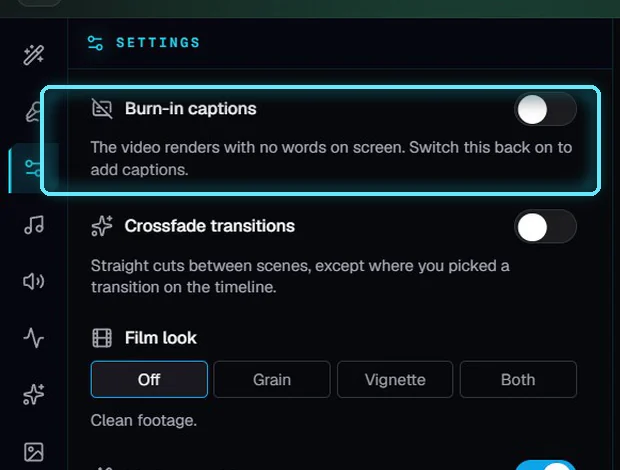
Captions off: the help text says what the render will do.
With captions on, pick a style. Each preview shows the style's colors, its outline and where the words sit on the screen. The video in this guide used Bold karaoke; for a documentary we picked Documentary serif.
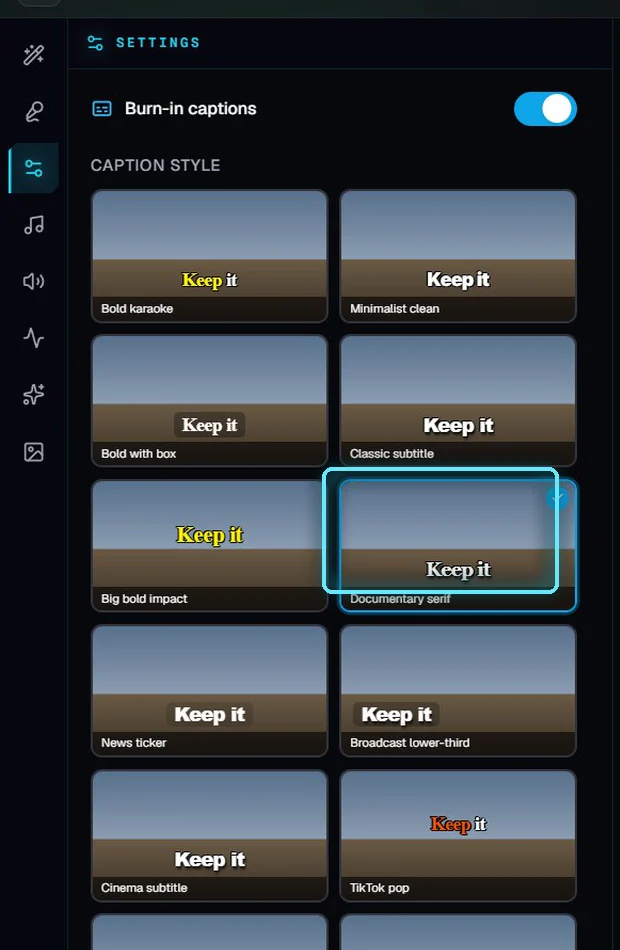
Documentary serif selected.
You can switch captions on after a video was built without them. The next render writes the missing captions first, which takes a little longer that one time.
3. Crossfade transitions
Crossfade transitions makes every scene fade into the next one over 0.4 seconds. With it off, scenes cut straight to the next one.
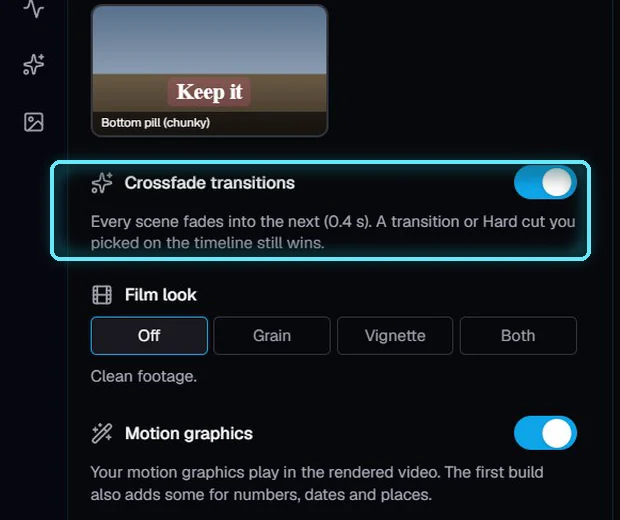
Crossfade transitions on.
A transition you picked yourself on the timeline still wins, so a Hard cut you chose stays a hard cut. Those picks show as chips on the line between two scenes.
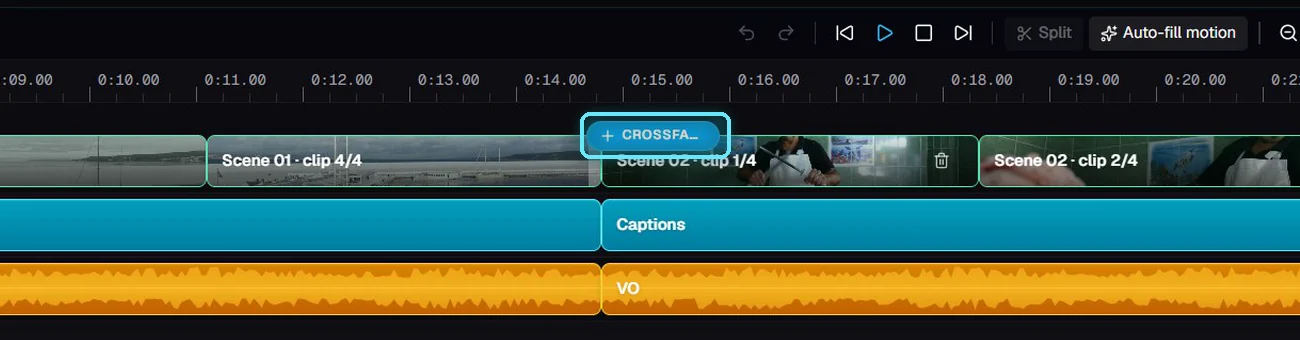
A transition picked on the timeline, between scenes 1 and 2.
4. Film look
Film look adds Grain, a soft dark Vignette around the edges, or Both. The Strength slider sets how strong it is. It only touches the footage, never the captions, motion graphics or logo.
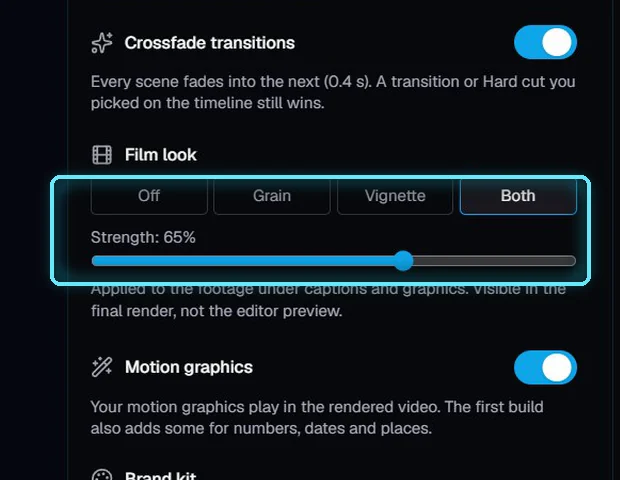
Film look set to Both at 65%.
The editor's preview doesn't show the film look. You'll see it in the rendered video.
5. Motion graphics and brand kit
The Motion graphics switch keeps your graphics in the rendered video. Switch it off and the video renders without them, including ones you added by hand. They stay on the timeline, so you can switch it back on at any time. With it on, the first build also adds some graphics for numbers, dates and places.
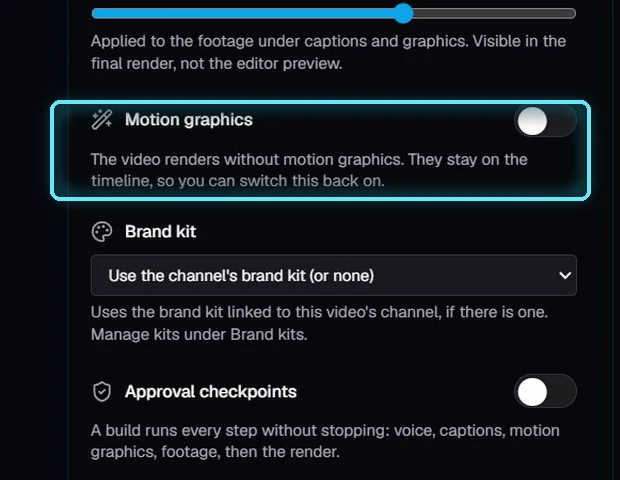
Motion graphics off: the graphics stay on the timeline.
Brand kit chooses which kit adds your logo and colors to this video. The default uses the kit linked to the video's channel. The kit's color look, logo, and intro and outro are added when the video renders.
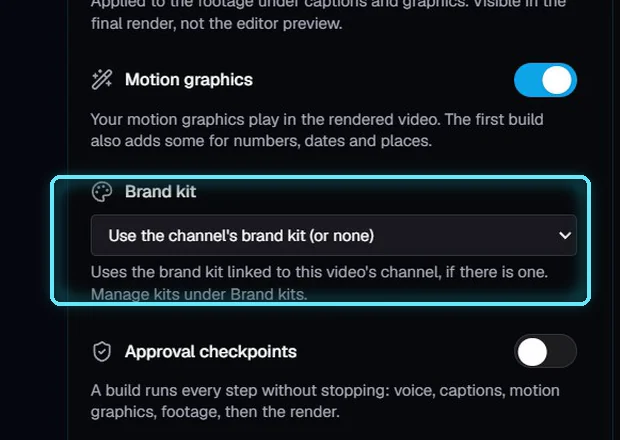
The Brand kit picker.
6. Approval checkpoints
Approval checkpoints makes a build stop after each step (voice, captions, motion graphics, footage) so you can check it before the next one runs. A plain Render doesn't pause.
To try it:
Switch Approval checkpoints on.
Click the arrow next to Render and choose Full rebuild. Scenes whose narration hasn't changed reuse their voice, so this costs nothing.
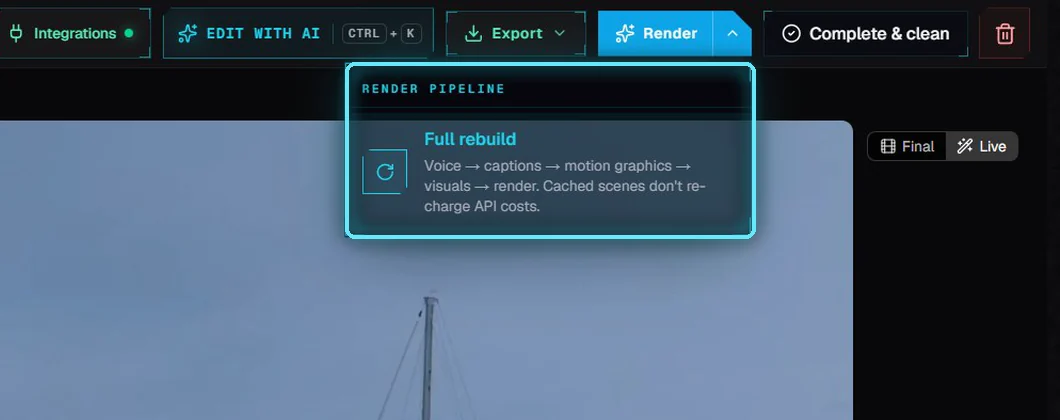
Full rebuild, under the arrow next to Render.
When the voice step is done, the build waits. The top bar says what comes next.

The build paused before captions.
Approve runs the next step. Reject stops the build there, and the video you already rendered stays as it was.
Switch checkpoints off again and builds run straight through.
7. Render and the result
Click Render. It reuses the voice, footage and graphics, so it costs nothing. This 6-minute video took about 2 minutes on our PC.

Rendering. The player switches to Final when it's done.
The finished video has the new caption style and the film look over the footage:
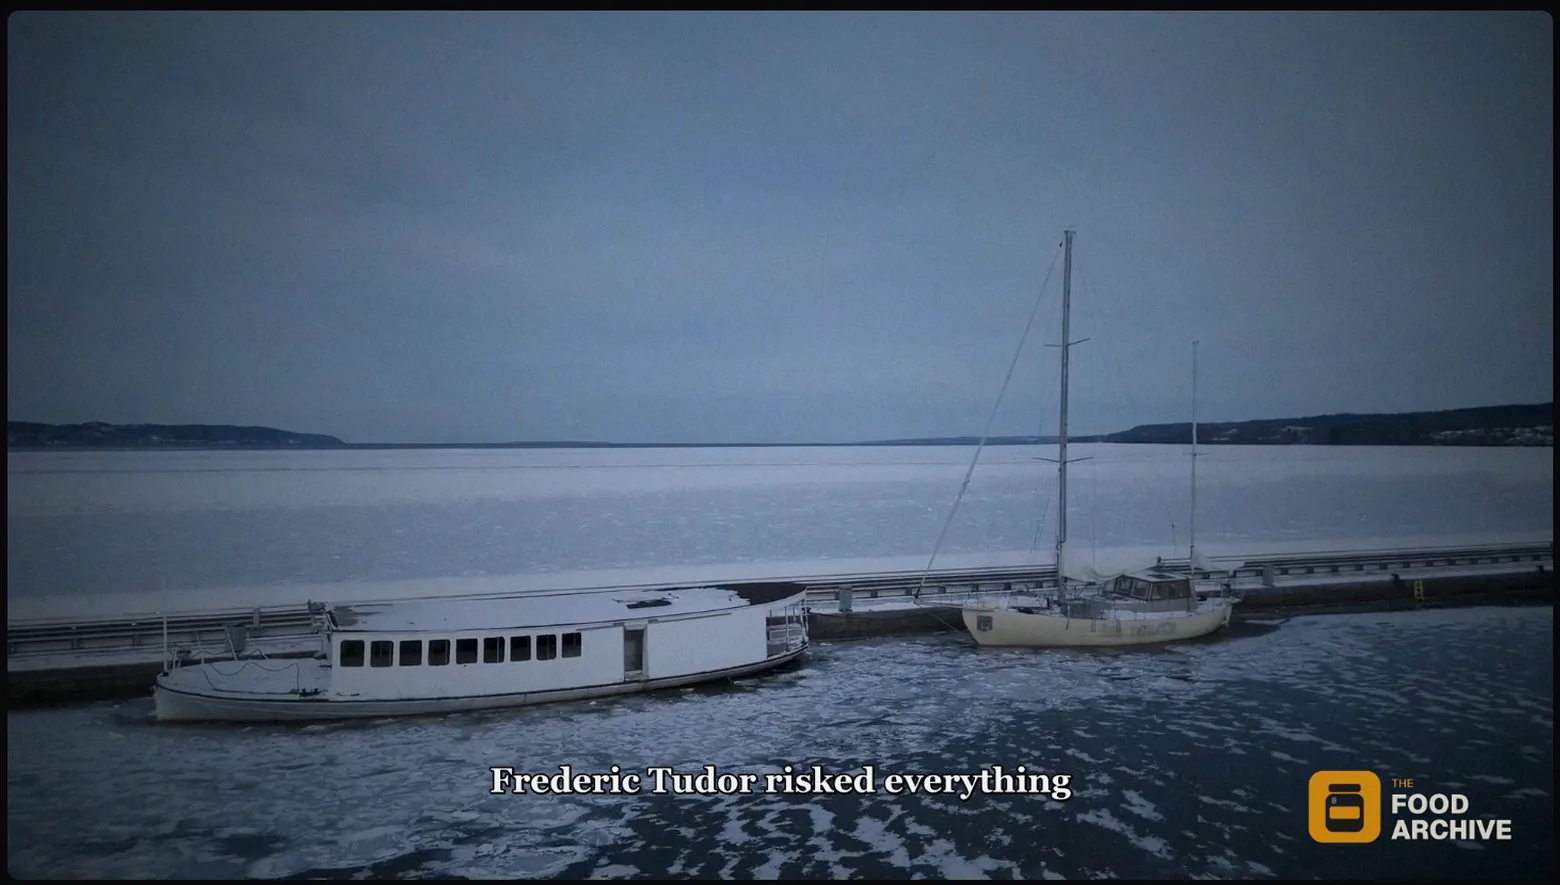
Documentary serif captions and the vignette.
And the scenes now fade into each other:
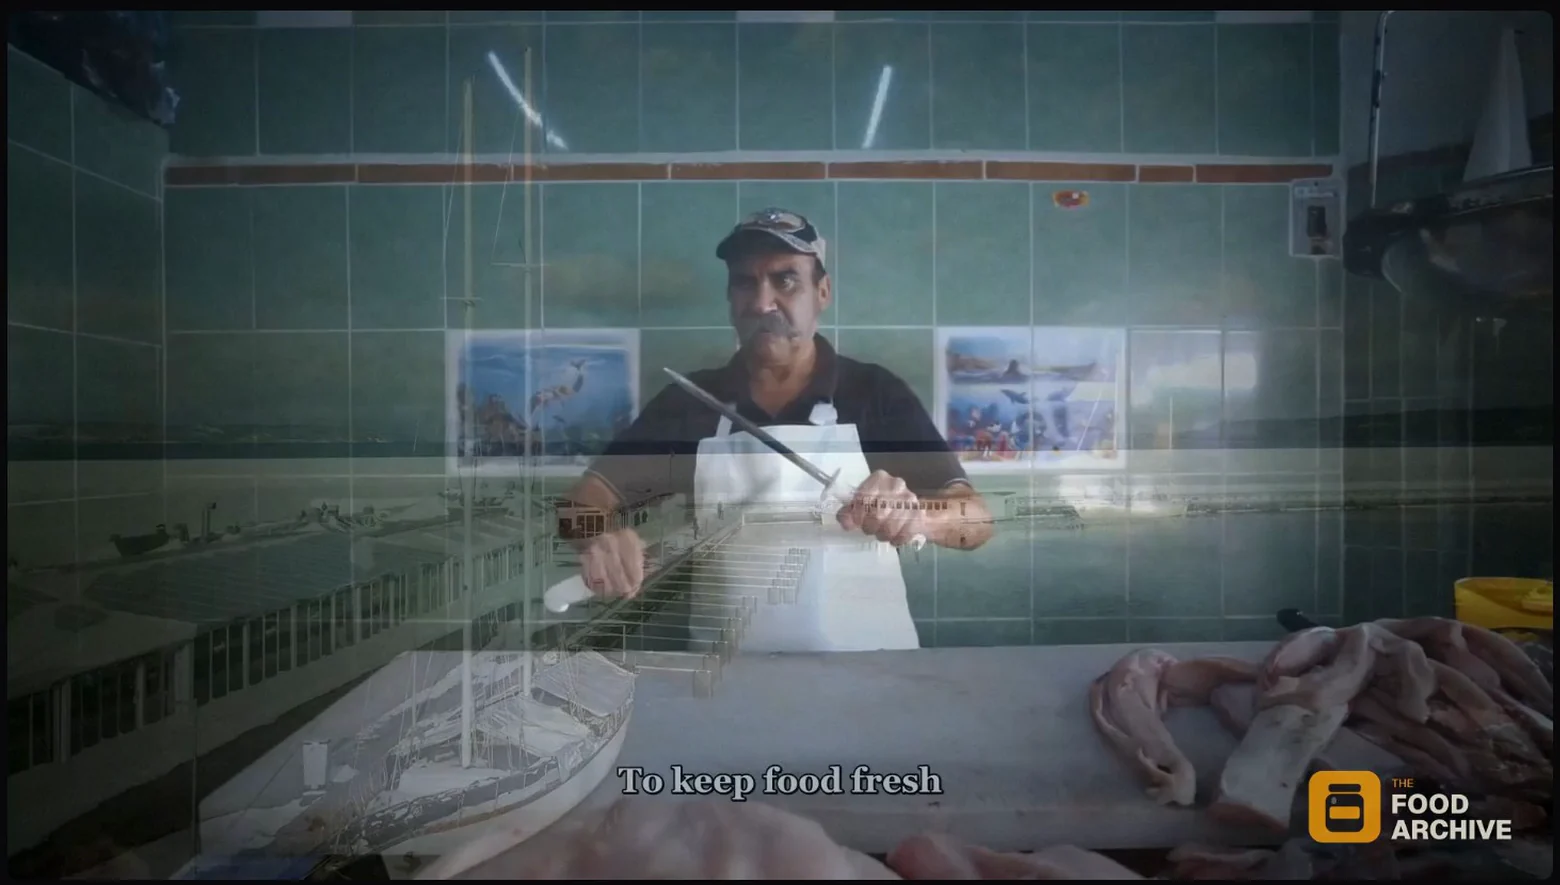
A crossfade from scene 1 to scene 2.
Tips
Keep the film look subtle. Around 30 to 60% reads as film; higher looks dirty on bright footage.
Grain makes the file bigger. Grain is fine detail that never repeats, so a video with grain is larger than one without, up to about 10 Mbps.
Match the caption style to the video. Serif and subtitle styles suit documentaries; bold and karaoke styles suit lists and Shorts.
Troubleshooting
I don't see the film look. The editor's preview doesn't show it. Render, then watch the Final player or the exported file.
The build stopped and nothing happens. Approval checkpoints are on. Click Approve at the top to run the next step, or switch checkpoints off.
My graphics are missing from the video. Check that the Motion graphics switch is on, then render again.