
Motion graphics 101
Add, edit, trim, copy and auto-fill animated graphics.
A 3-minute video version of this guide will play here. Everything it shows is written out below.
Motion graphics are the animated numbers, names, maps and titles that play over your footage. VidNexus adds a few when it builds a video. This guide adds our own to the food-preservation video from the first-video tutorial: a number, a place, and a copy of the first one, and then lets Auto-fill try the whole video.
1. Find a line that needs a graphic
Open the project in the editor (click Refine in editor). The graphics already in the video are the purple bars above the scenes on the timeline. Click one and press play to see it.
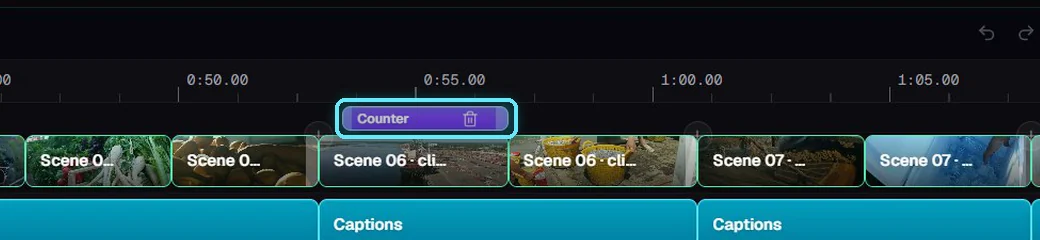
A motion graphic on the timeline: the purple bar above scene 6.
Good places for a graphic are lines with a number, a place or a name. Click a scene to read its line in the panel on the left. Scene 16 says about 6,000 tons of ice were cut each year, so let's put that number on screen.
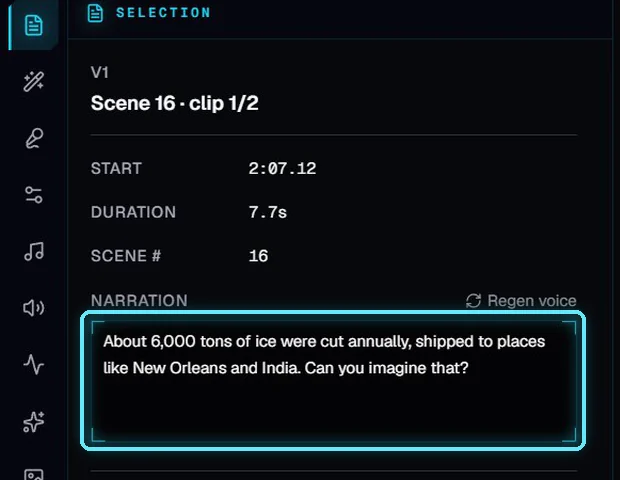
Scene 16's narration.
2. The Animations tab
Open the Animations tab (the wand icon on the left) and search for what you need, like number. Hover over a tile to preview it.
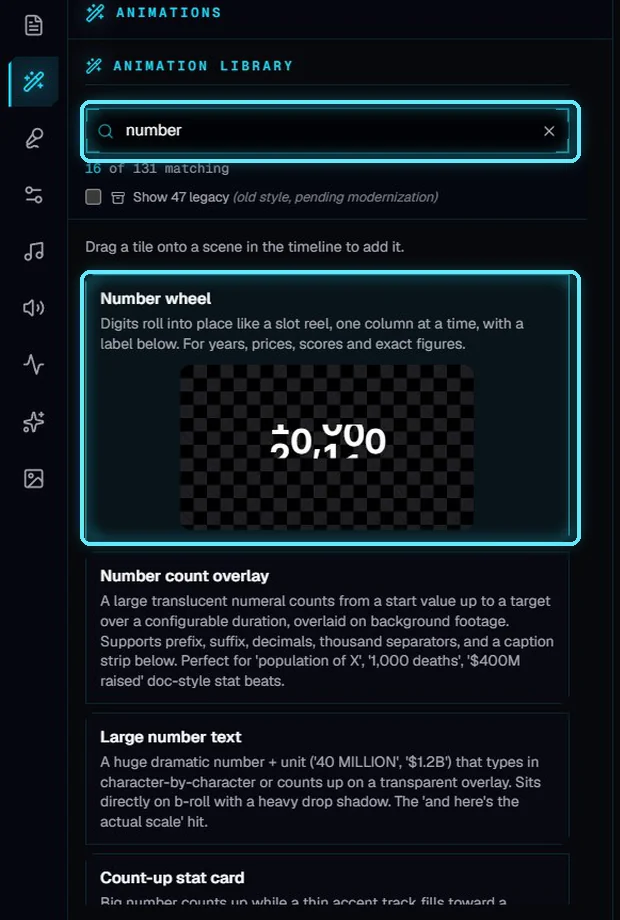
Searching for number. Hovering over Number wheel plays a preview.
Drag the tile onto the scene on the timeline. The new graphic opens in the Selection tab, and its bar appears above the scene while it renders.
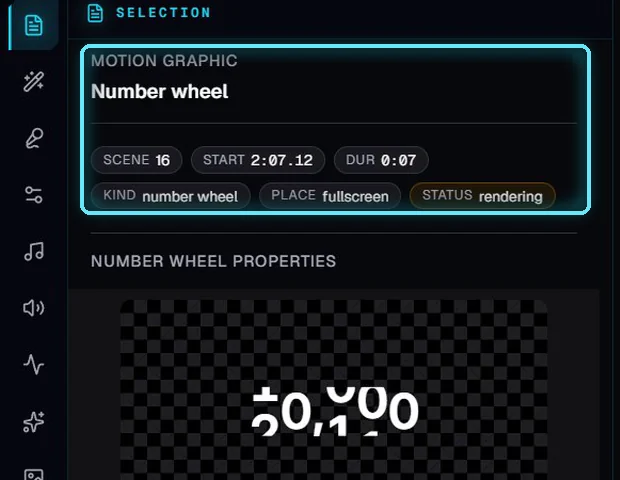
The new Number wheel, selected and rendering.
3. Edit and save
Each graphic has its own settings. For the Number wheel, type the Value (6000), the Suffix ( tons, with a space first), and a short Label. The preview at the top updates as you type.
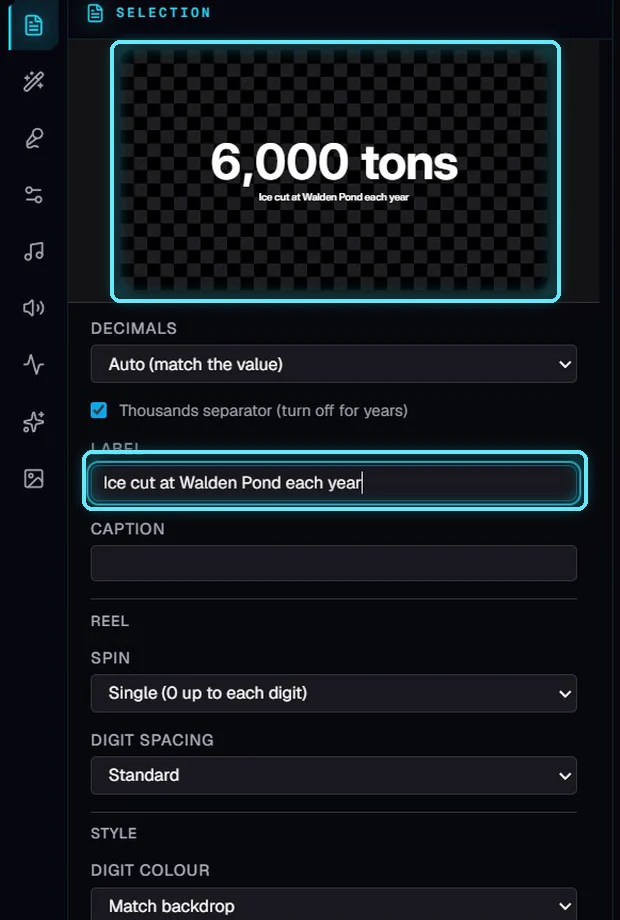
The preview shows the new number before you save.
Click Save & render. VidNexus renders the graphic in a few seconds, and the bar stops saying Rendering. Ctrl+Z undoes a save.
4. Trim the graphic
A new graphic covers its whole scene. Drag the right edge of its bar to make it shorter, so the footage comes back after the number. The graphic renders again at the new length, so it still animates out at the end.

Number wheel trimmed to the first 4 seconds of scene 16.
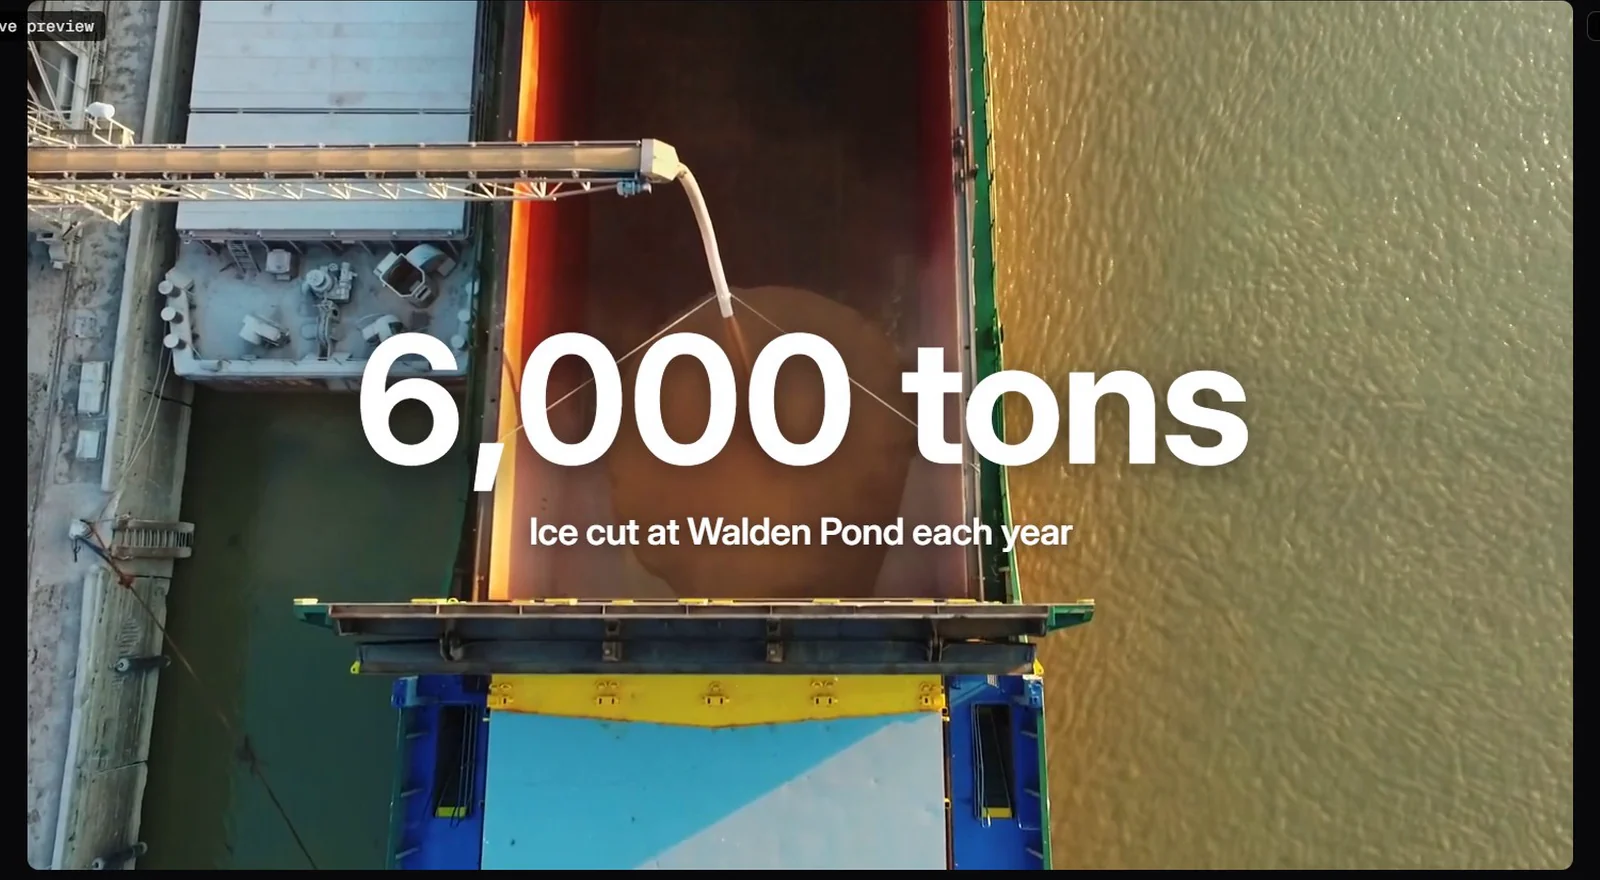
Playing scene 16: the number rolls in over the footage.
5. A place: the Split-flap board
Scene 9 names a place, New England. Search for board and drag the Split-flap board onto scene 9. Type the place in Board text and a caption under it, then click Save & render.
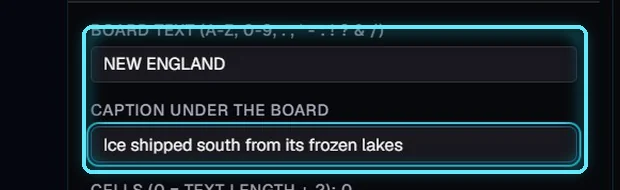
The board's text and caption.
New England comes late in the line, so drag the left edge of the bar to the right. The graphic now starts when the place is said.

The board's bar now starts partway through scene 9.
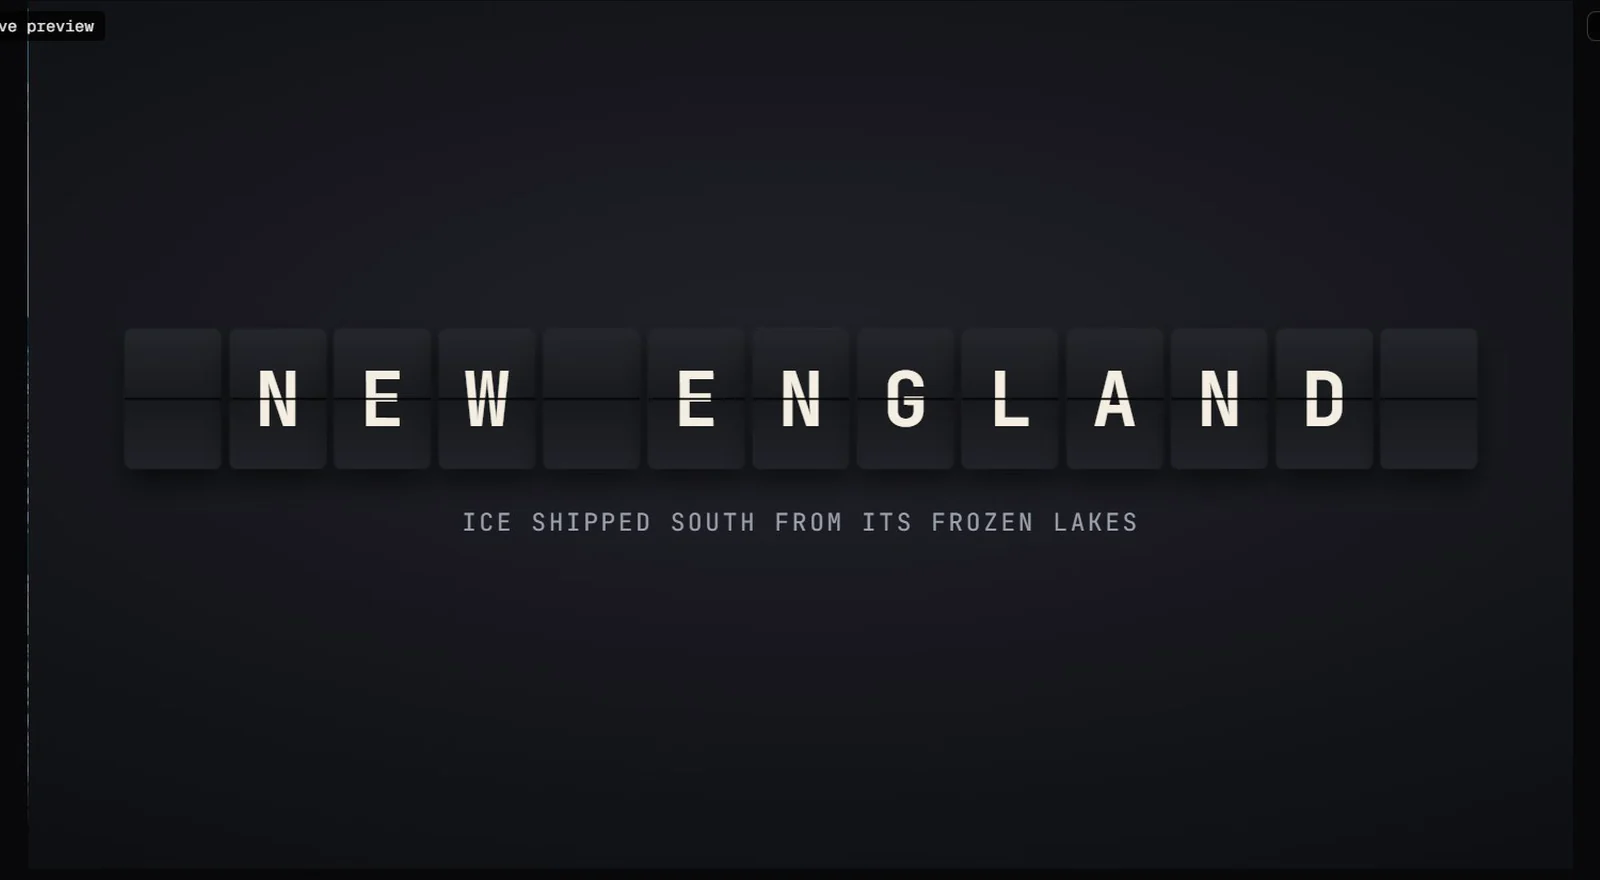
The board flips to NEW ENGLAND as the narrator says it.
6. Copy, paste and move
To reuse a graphic you've styled, copy it:
Click its bar and press Ctrl+C.
Click the timeline ruler where it should start, to move the playhead there.
Press Ctrl+V. The copy lands at the playhead and opens in the Selection tab.

Pasted into scene 8, at the playhead.
The copy keeps the style, so just change the words and click Save & render. Here it shows 40°F, the top temperature inside an icebox.
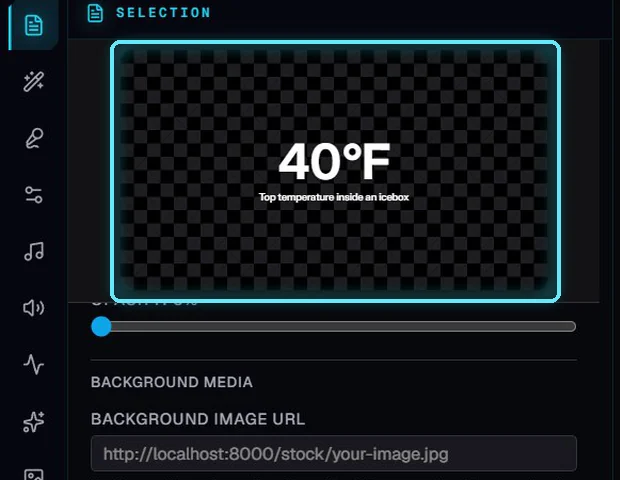
The copy, edited.
To move a graphic, drag the middle of its bar. It stays inside its scene: the finished video shows a scene's graphic only until the scene ends.
7. Auto-fill motion
Auto-fill motion, in the timeline toolbar, does this for the whole video. The AI reads the script and picks graphics for lines with numbers, places, names, dates or quotes. When the video already has graphics, it asks first:
Add to scenes without one: keeps your graphics and fills scenes that have none, up to about one graphic every five scenes.
Replace all: swaps every graphic for new picks.
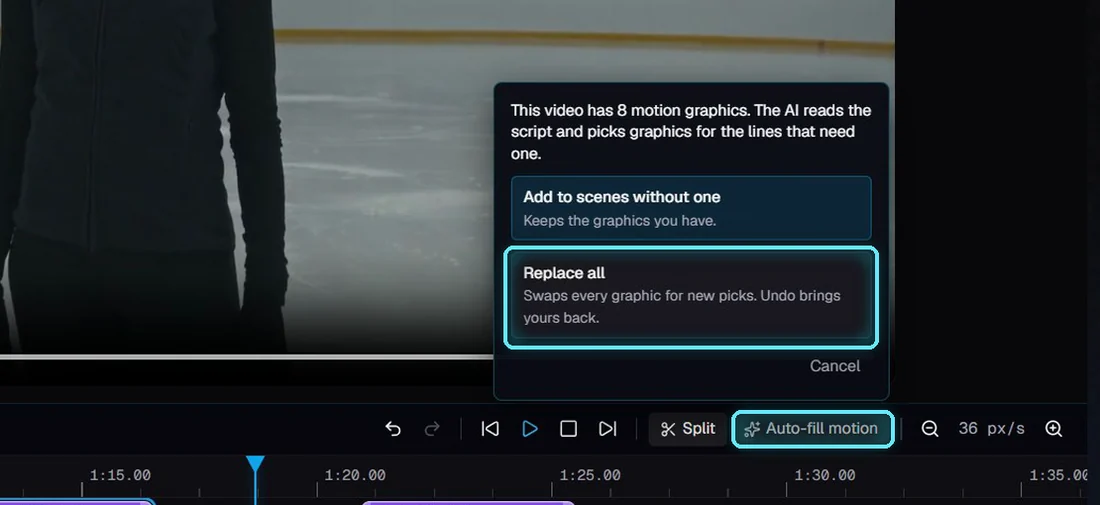
Auto-fill asks before it changes anything.
With a local AI model (Ollama) it costs nothing; a 43-scene video took about a minute. The new graphics render one after another.

Replace all: four new picks, rendering.
Don't like the picks? Press Ctrl+Z. The whole run is one undo step, and your own graphics come back.
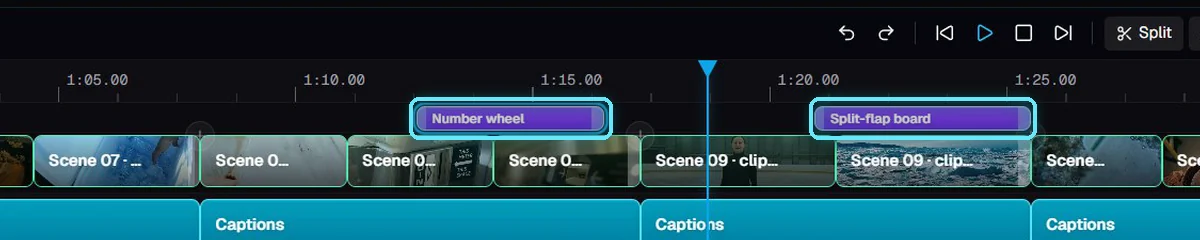
After Ctrl+Z: our Number wheel and Split-flap board are back.
Tips
One graphic per scene. The finished video shows the first graphic in each scene.
Short labels read best. Viewers see a graphic for a few seconds; five or six words is plenty.
Start it on the word. Trim the start of the bar to when the narrator says the number or place.
Troubleshooting
The bar says Failed. Select it and click Re-render. If it fails again, the error shows at the top of the Selection tab.
Auto-fill says it couldn't reach the AI model. Start Ollama (or check the LLM button at the top right), then try again.
Auto-fill added nothing. The video already has about one graphic every five scenes. Use Replace all to start over, or add graphics by hand.