
Edit scenes on the timeline
Move, trim, split and delete scenes, add transitions and effects, and undo any step.
A 3-minute video version of this guide will play here. Everything it shows is written out below.
The editor's timeline shows your video one scene at a time. This guide uses the food-preservation video from the first-video tutorial and walks through every edit you can make to its scenes, then renders the result.
1. The timeline
Open a project and click Refine in editor. At the bottom is the timeline. Each scene is one clip on the Video track (V1), with its Captions and its Voice right below it. A scene with several b-roll clips shows them side by side, but they move together as one scene.

One scene: its video, captions and voice.
Use the magnifiers on the right of the timeline bar to zoom in and out, and click the time ruler to move the playhead.
2. Recap: change the narration
Click a scene to select it. Its narration is in the panel on the left. Change the words there, then click Regen voice to record the new line with the same voice. Regen voice uses a little ElevenLabs credit. The editor tour covers this in more detail.
3. Move a scene
Drag a scene along the video track and drop it on the scene whose place it should take. The scenes after it shift along, and the scene's captions, voice and motion graphics move with it.
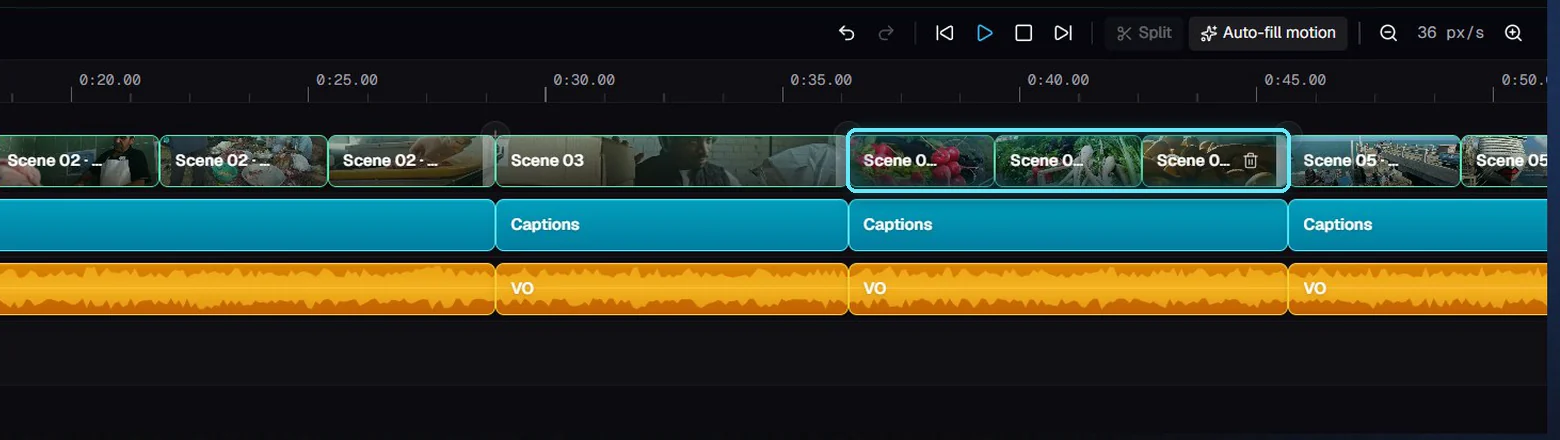
The scene that was 5th now plays 4th.
Changed your mind? Press Ctrl+Z and it goes back.
4. Add a pause after a line
A scene is as long as its narration. To give a line room to breathe, drag the right edge of the scene to the right. The voice stays the same length; the picture holds for the extra time, so you get a pause after the line. Drag it back to the left to shorten the pause. You can't make a scene shorter than its narration.
Select the scene to see its length and the pause in the panel on the left. In the example, the hook gets one second before the next scene.
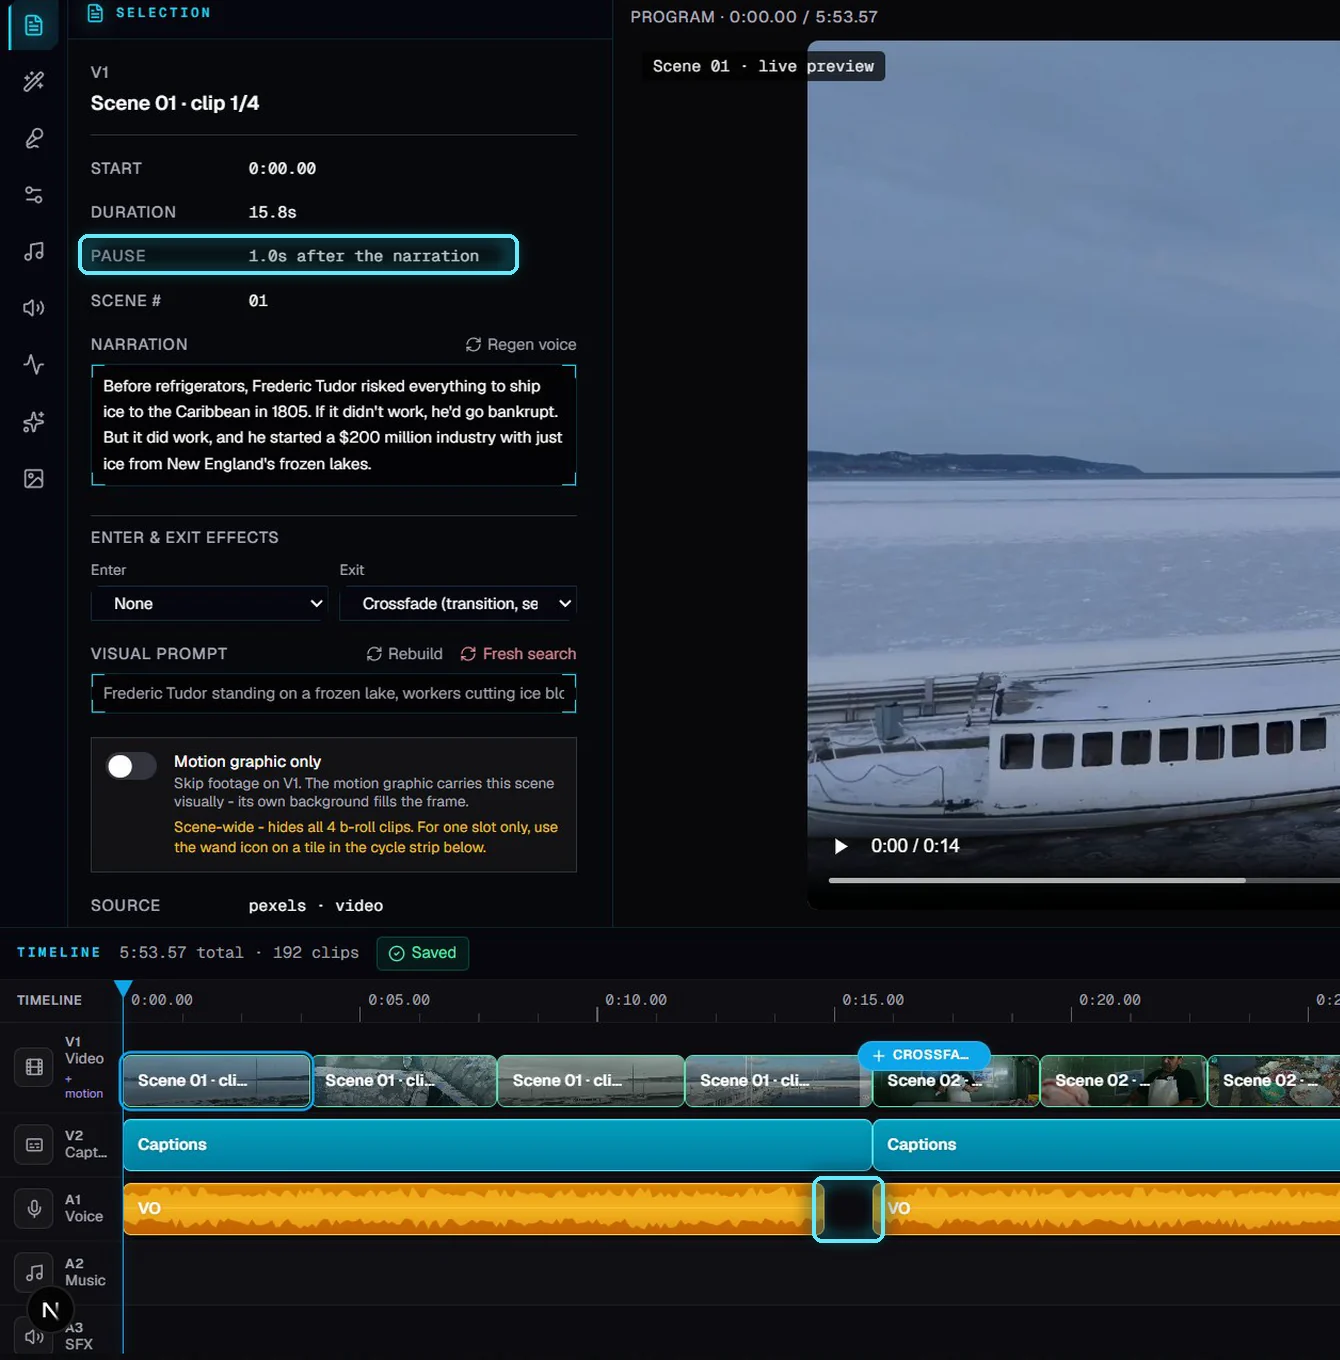
Pause: 1.0s after the narration. The gap on the Voice track is the pause.
5. Split a scene
Click the time ruler to put the playhead where you want the cut, for example between two sentences, then click Split in the timeline bar. The button is grey until the playhead is inside a scene's narration.
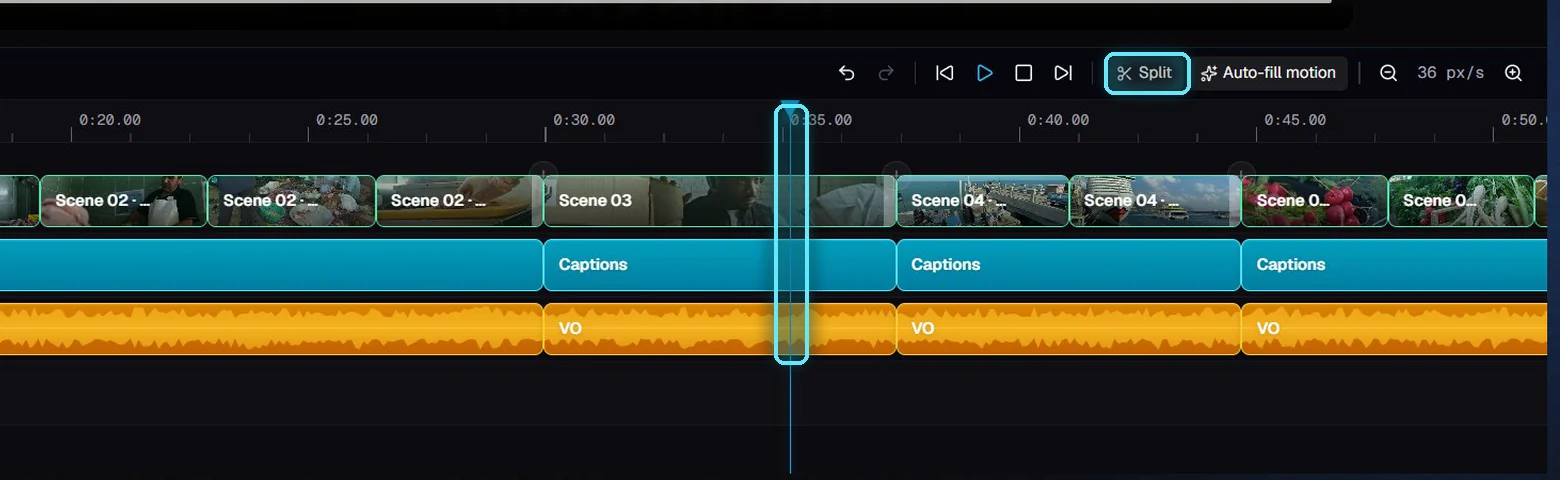
The playhead between two sentences, and the Split button.
VidNexus cuts the voice, the captions and the footage at the nearest word. Both halves play straight away, so there's no new voice to record. Motion graphics that start after the cut move to the second half.
6. Delete a scene
Select a scene and press Delete, or hover over the clip and click its bin icon. This is a ripple delete: the scenes after it move up to close the gap. There's no confirmation box, because Ctrl+Z brings the scene back.
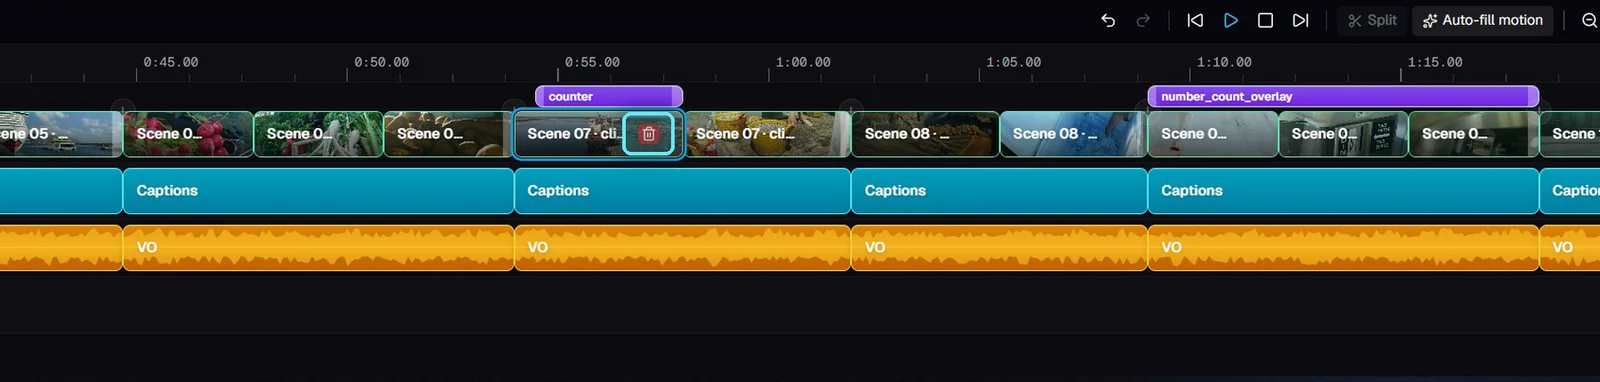
The bin icon on a scene's clip.
7. Add a transition
Between every two scenes there's a small + button at the top of the video track. Click it to open the transition picker. Hard cut is the default. Pick Crossfade, Fade, Slide, Slide up, Zoom or Wipe.
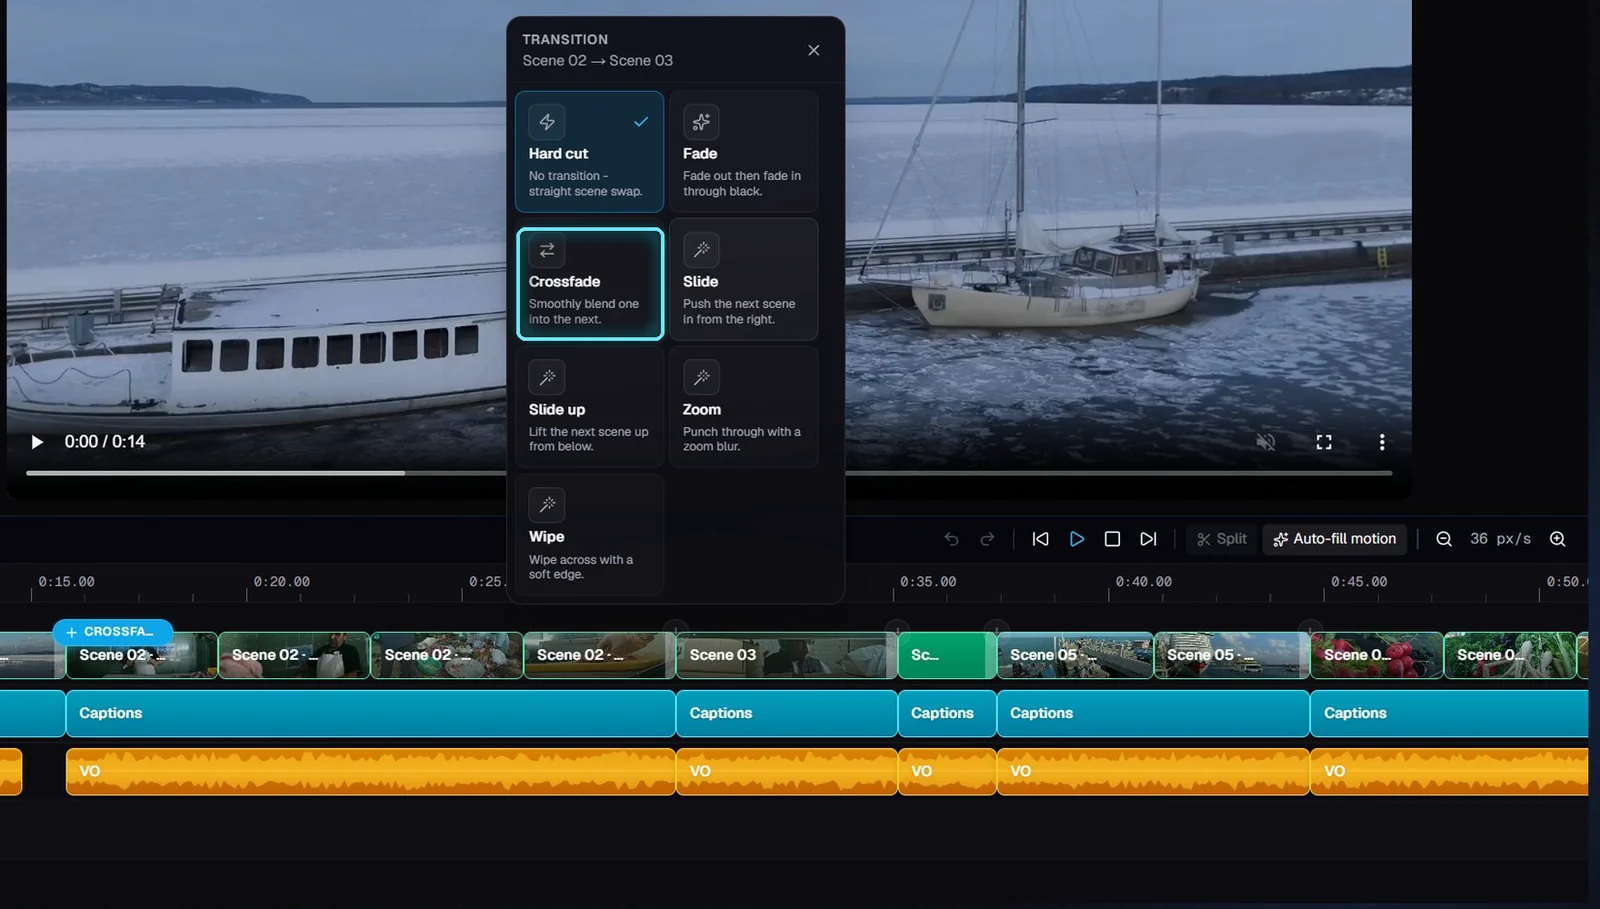
The transition picker between scenes 2 and 3.
The button then shows the transition's name. Click it again to change it, or choose Remove to go back to a hard cut.
8. Enter and exit effects
Enter and exit effects play on a single scene, as it starts or as it ends, for example a zoom, a slide or a light leak. Select the scene and pick them in the panel on the left, under Enter & exit effects. Effects that join two scenes, like Crossfade, are set with the + button on the timeline instead.
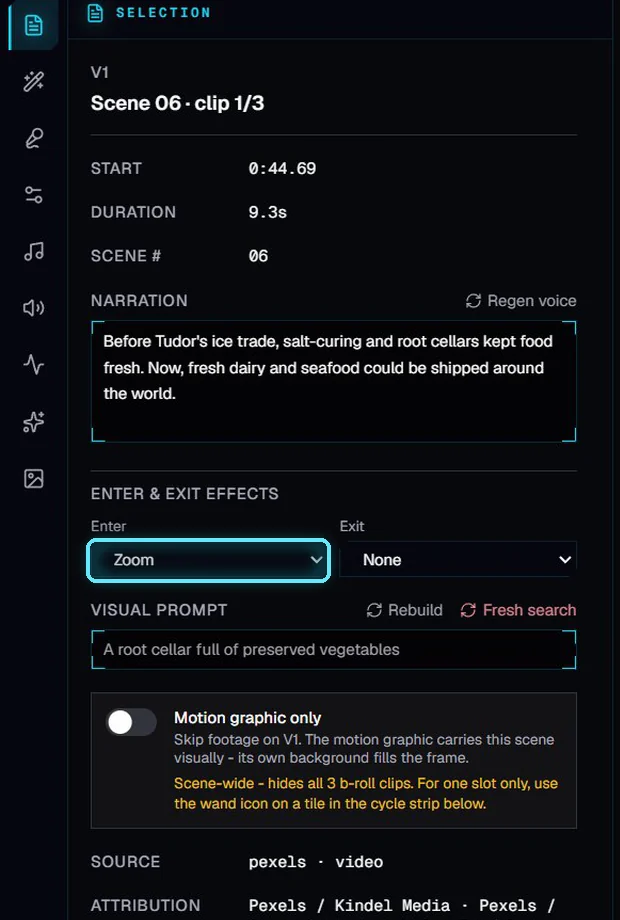
Enter: Zoom.
9. Undo and redo
Every edit in this guide can be undone. Press Ctrl+Z to undo the last edit and Ctrl+Y to redo it, or use the arrow buttons in the timeline bar. Hover over them to see which step they will undo or redo. After each one, a short note in the timeline bar says what changed.

“Undone: Change scene 6's enter effect”, and the Undo and Redo buttons.
What Undo covers
Moving, trimming, splitting and deleting scenes
Narration edits, transitions, and enter and exit effects
Adding, pasting, moving and deleting motion graphics on the timeline
What it doesn't cover
Footage changes, captions, music and project settings
Changes made with the AI editor: it has its own Undo button
Anything before you opened the editor. The list is cleared when you reload the page or restart VidNexus.
10. Render the video
Your edits change the project, not the video file. When you're happy, click Render at the top right. Rendering is done on your computer and costs nothing; our 6-minute video took under a minute and a half. The final video has all of your edits: the new order, the pause, the split, the transition and the effect.

The finished video.
Troubleshooting
Split is greyed out. Move the playhead inside the narration of the scene you want to split. A scene that hasn't been built yet can't be split.
The split landed a word early or late. VidNexus cuts at the word nearest the playhead. Press Ctrl+Z, move the playhead a little and split again.
Undo says the step is no longer available. VidNexus was restarted since that edit, so its undo history is gone. Make the change again by hand.
I can't drag a scene shorter. A scene can't be shorter than its narration. To shorten the line, edit the narration and click Regen voice.